How to Solder a Pcb Circuit Board?
Date:2024-06-19 13:59:15
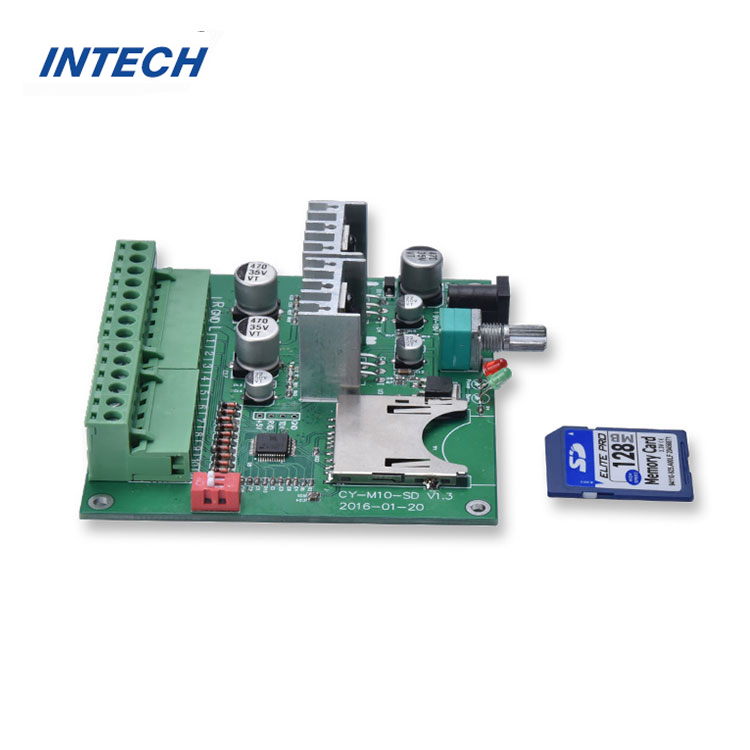
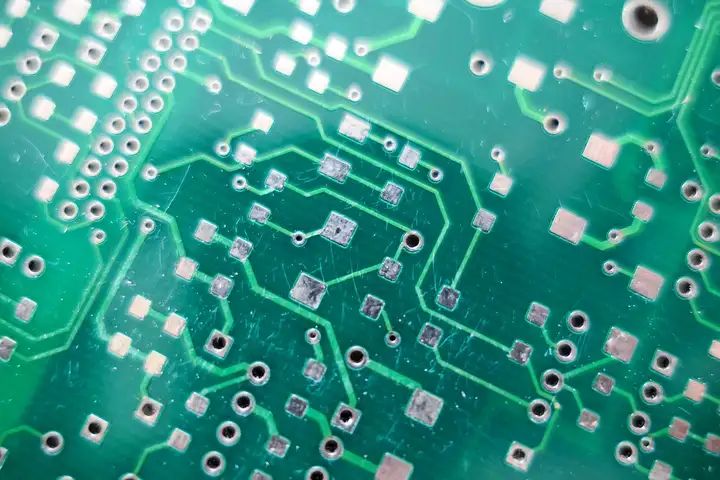
Soldering a PCB (Printed Circuit Board) is an essential skill for anyone involved in electronics, whether you're working with custom PCB boards or standard designs. Here's a step-by-step guide to help you through the process, with a focus on custom PCB boards and the role of a PCB board manufacturer or maker.A PCB board manufacturer or maker is responsible for the production of these boards. They use sophisticated machinery and processes to etch the circuit patterns onto the board, ensuring that the design is accurately transferred from the schematic to the physical board.
The Soldering Process
Clean the PCB: Before soldering, clean the PCB to remove any dust or oils that may interfere with the soldering process.
Tinning the PCB: Apply a small amount of solder to the pads on the PCB. This process, known as tinning, helps to ensure a good solder joint.
Place Components: Carefully place the components on the PCB according to the layout. For small or closely spaced components, consider using a magnifying glass or microscope.
Solder the Components: Heat the soldering iron to the appropriate temperature (usually around 350°C for leaded solder, lower for lead-free). Touch the iron to the pad and component lead, then add solder to the joint. The solder should flow smoothly around the lead and pad.
Check Joints: After soldering, inspect each joint to ensure it is shiny and has a smooth, concave shape. Poor joints may be dry, cracked, or have a rough texture.
Desolder if Necessary: If a joint is not up to standard, use a solder sucker or desoldering pump to remove the solder and redo the joint.
Clean After Soldering: Once all components are soldered, clean the board again to remove any flux residue or excess solder.

Tips for Successful Soldering
- Practice: Like any skill, soldering improves with practice. Start with simple projects to build your confidence and technique.
- Use the Right Tools: High-quality tools can make a significant difference in the quality of your soldering.
- Stay Organized: Keep your workspace clean and organized to avoid mistakes and improve efficiency.
- Safety First: Always work in a well-ventilated area and be mindful of the heat from the soldering iron.


